In the world of automotive and electrical diagnostics, a test light serves as an essential tool, particularly the 12 volt direct current (DC) version. Often relied upon by mechanics and hobbyists alike, this device plays a critical role in troubleshooting electrical circuits. However, there are instances when a 12VDC test light exhibits a faint or “weak” glow, and understanding the implications of this phenomenon is crucial for effective diagnostics.
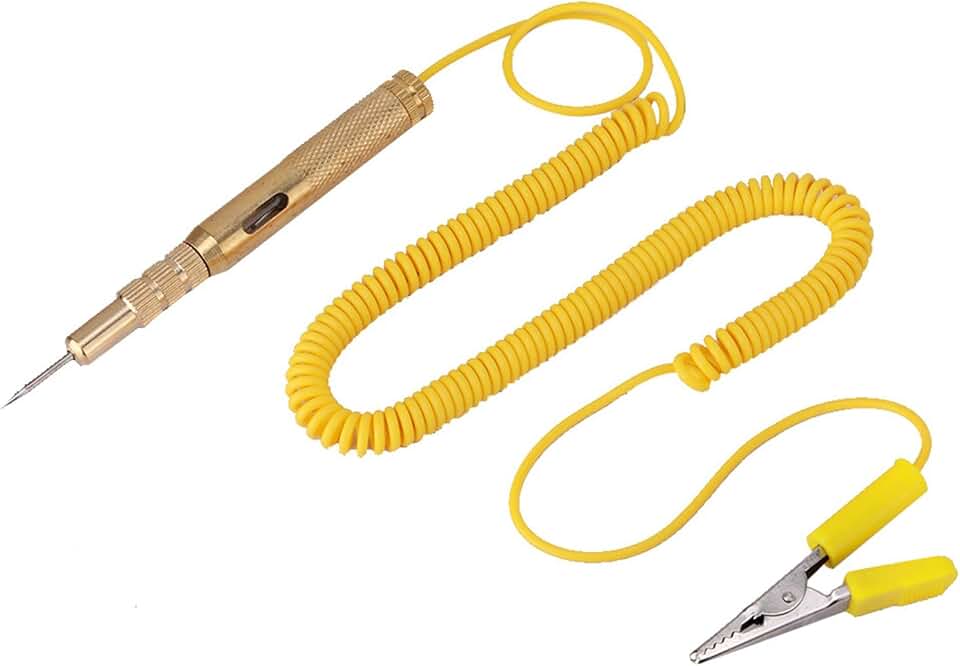
To commence, let’s elucidate what a 12VDC test light is designed to do. Typically, it consists of a light bulb, filament, and two leads: one connected to ground and the other connected to the circuit being tested. When accurately functioning, a bright illumination indicates a robust flow of electrical current. Conversely, if the light is weak, it raises several questions regarding underlying issues in the electrical system.
Understanding Test Light Functionality
A 12VDC test light operates on the principle of providing visual feedback about the presence of voltage in a circuit. It serves as a bridge between the tester and the electrical system, revealing whether voltage is adequate and stable. A glowing bulb suggests that the circuit is live, while a dimmer light necessitates further investigation. Consequently, when confronting a weak test light, one must delve into potential causes to ascertain the problem.
Potential Causes of Weak Illumination
Weak illumination may originate from a variety of factors, which can be categorized as follows:
- Insufficient Voltage Supply: Often, the primary culprit behind a weak test light is inadequate voltage reaching the test point. This can stem from a drained battery, corroded battery terminals, or damaged wiring that hampers current flow.
- Circuit Resistance: Excessive resistance within the electrical path can lead to a reduction in voltage. This scenario is prevalent in older vehicles, where wiring integrity may have degraded over time, resulting in increased resistance and diminished light output.
- Faulty Test Light: It is not uncommon for the test light itself to be compromised. A weak bulb or a frayed lead can yield unreliable results. Regular maintenance and testing of the test light are prudent to ensure it functions appropriately.
- Lamp Grounding Issues: A poor ground connection can create resistance, leading to an inadequate current supply to the light. Grounding issues can be treacherous, as they may also indicate systemic problems within the vehicle’s electrical architecture.
- Environmental Factors: External elements, such as moisture or corrosion, can adversely affect connections and components, leading to suboptimal performance of the test light.
Diagnostic Steps for Resolving Weak Test Light Issues
When confronted with a weak test light, a systematic diagnostic approach is essential:
- Check the Power Source: Begin by examining the power source. Ensure that the battery is adequately charged. Use a multimeter to measure the voltage at the battery terminals to confirm it is within the acceptable range.
- Inspect Connections: Proceed to inspect the connections between the battery, test light, and the circuit in question. Look for signs of corrosion or loose fittings that could impede electrical flow.
- Test the Test Light: Validate the functionality of your test light. If possible, test it on a known good circuit to ensure it performs as expected. Replace the bulb if it appears weak or dim during testing.
- Examine Circuit Integrity: If the test light functions properly but still appears weak, extend your diagnostic efforts to the circuit itself. Inspect for any signs of wear, damage, or corrosion along the wiring and connections.
- Grounding Verification: Verify that the ground connection is secure. Use a multimeter to measure continuity from the ground point to the battery negative terminal. Any disruption indicates a need for repair.
Preventative Measures Against Weak Test Lights
Preventing weak test light issues requires diligence and proactive maintenance. Consider the following strategies:
- Regular Inspections: Conduct periodic checks of the vehicle’s wiring and battery connections. Look for wear, corrosion, and loose connections to preempt potential failures.
- Environmental Protection: Implement seals or covers for connections exposed to moisture or grime to mitigate the effects of environmental factors that could lead to circuit degradation.
- Quality Components: Utilize high-quality test lights and electrical components. Investing in reliable tools can minimize troubleshooting complexities in the future.
- Education and Training: Equip yourself with knowledge regarding automotive systems and electrical diagnostics. Understanding the intricacies of the vehicle’s wiring will enhance your ability to resolve issues expediently.
The Importance of Adequate Illumination
A properly functioning 12VDC test light is imperative for efficient troubleshooting and repair of electrical systems. The presence of bright light reassures the technician of a seamless electrical flow, while any dimness signifies underlying issues that could jeopardize vehicle performance. Addressing the root causes of weak illumination is not merely a technical exercise; it is vital to preserving the longevity and reliability of a vehicle’s electrical systems.
In conclusion, one must approach a weak test light with a comprehensive understanding of both symptomatic implications and the underlying causes. By employing methodical diagnostics and preventive strategies, one can ensure that their 12VDC test light remains a beacon of trust and reliability in the complex realm of automotive electrical systems.